

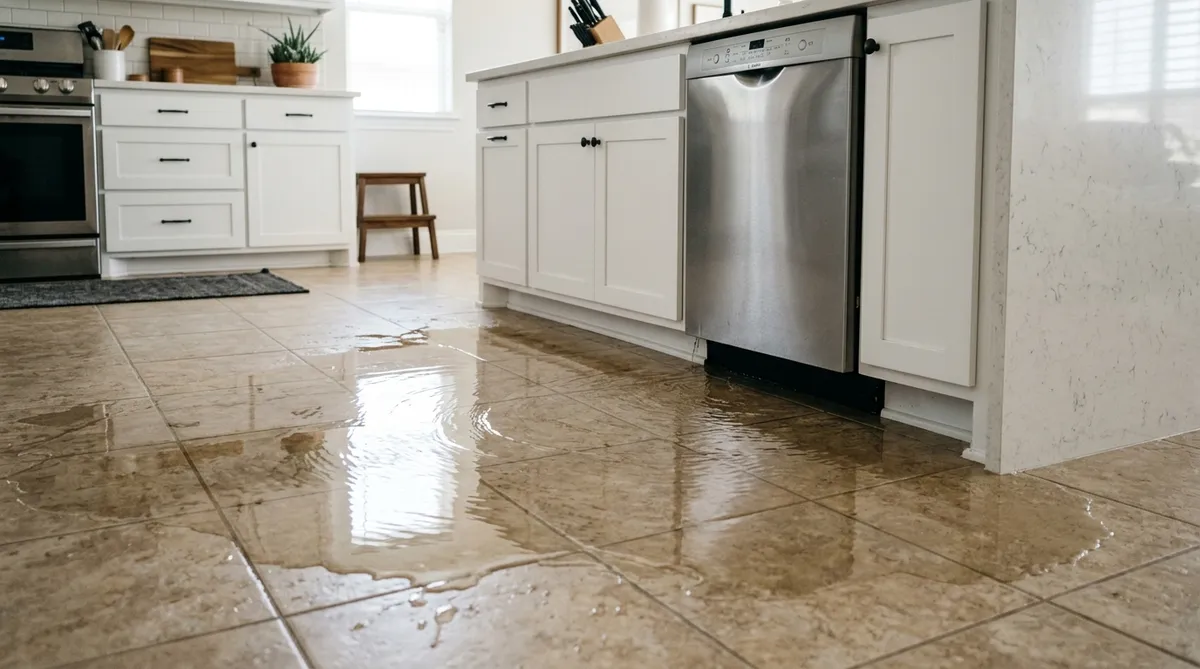
A flooded kitchen is one of the toughest challenges a UK property owner can face. Once the pumps remove the standing water and the building starts to dry out, the real work of restoration begins. Knowing what you can salvage and what has to go is what keeps the space safe to live or trade in. Here’s how to manage the strip-out and rebuild a kitchen that’s ready for next time.
What to Strip Out and What to Save
You can’t save everything after a major flood. Plasterboard acts like a giant sponge when it meets contaminated floodwater, and even when the surface looks dry, hazardous bacteria and black mould often sit behind the cabinets. For this reason, you need to strip the plasterboard back to at least 300mm above the high-water line, and many UK restoration contractors will cut higher (typically 500mm or more) where contamination or wicking is severe.
Wall tiles might look solid, but compromised grout lets water seep behind them. That trapped moisture weakens the adhesive and ruins the wall behind it, so it’s usually better to take the tiles off completely than patch small areas. Wooden cabinets and chipboard carcases swell and warp beyond repair once soaked, which means they almost always need to go too.
Water-Resistant Wall Materials for the Rebuild
When you start rebuilding, choose materials that can take future water exposure. Traditional plaster and paint are highly vulnerable to moisture, so a second leak puts you straight back into the strip-out process. Replastering and retiling leaves you exposed to the same damage if water returns, so many homeowners now install a waterproof PVC sheet for wall protection in place of standard plasterboard and tiles.
These panels offer a fully impervious surface that stops water reaching the brickwork behind. They’re highly resistant to mould, easy to wipe clean after daily cooking, and they speed up the reinstatement timeline because you don’t have to wait weeks for multiple plaster coats to dry.
Official Reinstatement Standards and Timelines
The Association of British Insurers sets out the consumer-facing recovery process in its Responding to Floods guide, while the technical reinstatement standards come from PAS 64:2022, the BDMA, and CIRIA’s Code of Practice for Property Flood Resilience (C790F). The most critical factor across all of them is the drying timeline. You should never rush to rebuild before the masonry and subfloor are fully dry, because trapped moisture leads to structural rot and persistent odours later on.
Professional restoration teams use industrial refrigerant or desiccant dehumidifiers, alongside heaters, to extract deep-seated moisture. The ABI confirms this drying process can take from a few weeks to several months depending on the severity of the flood. Your insurer will require an official drying certificate before they sign off on the reinstatement work, and cutting corners at this stage almost always causes expensive failures down the line.
How to Design for Future Flood Resilience
Building a resilient kitchen means planning for the worst case. A few simple design choices reduce damage if water gets in again. Choose kitchen units with plastic or stainless-steel legs instead of timber bases, and hide them with removable plinths you can lift off quickly in an emergency.
Solid concrete floors with closed-cell insulation and a sealed screed handle floodwater far better than timber boards or laminate, both of which UK Property Flood Resilience guidance flags as high-risk. You should also raise electrical sockets to at least 1.5 metres above floor level, in line with Flood Re’s Build Back Better guidance, so wiring and appliances stay clear of future floodwater.
Build Back Stronger Than Before
Recovering from a flood takes time, patience and careful planning. Stripping contaminated materials back properly, letting the building dry out fully, and choosing waterproof surfaces with raised electrics gives you a kitchen that’s genuinely ready for the next event, not just patched up after the last one.